Throwing a dinosaur birthday party and need the perfect themed treat? These Dinosaur Cookies are super easy to make and guaranteed to be a hit with kids and adults alike.

Unlike decorated cookies that require piping skills and endless drying time, these dino cookies are beginner-friendly and still make a big impression. They’re perfect as dinosaur party food—or just because.
Ingredients at a Glance
- All-purpose flour: sifted
- Powdered sugar: sifted – don’t change to granulated sugar; you won’t get the same result
- Unsalted butter: cold (from the fridge) and cut into small dice, about ½ inch (1 cm)
- 1 large egg (55–60 g without the shell for me)
- Vanilla extract
- Semi-sweet chocolate at 40% cocoa content for dipping – optional
Full details of measurements at the end

Equipment Needed to Make These Dinosaur Cookies
A stand mixer is helpful, but you can also make these cookies by hand.
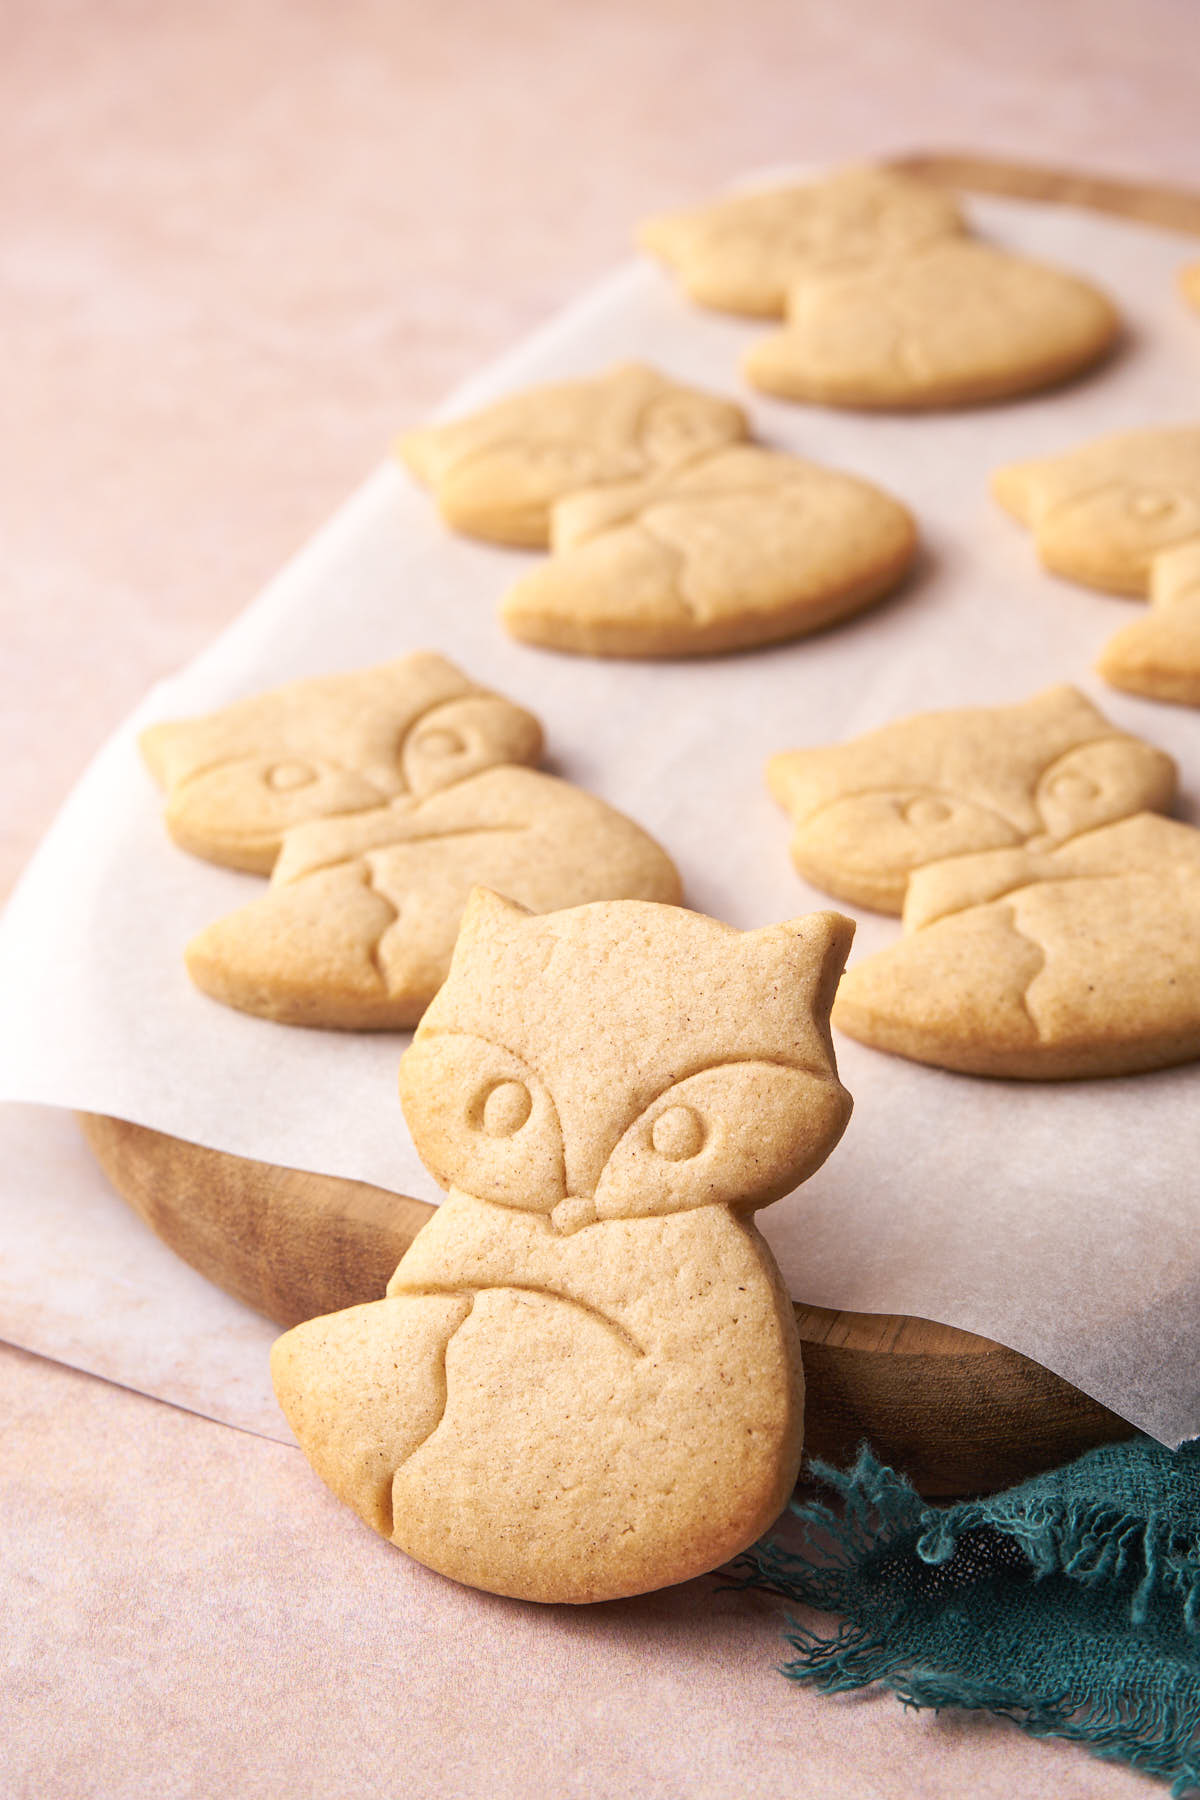
A cookie cutter with a stamp to create detailed dinosaurs. The size will affect the number of cookies you get. I use a dinosaur cookie cutter that’s about 7 x 6 cm (2.75 x 2.3 inches).
When choosing your cookie cutter, make sure it has deep details—otherwise, the patterns will disappear during baking. On Etsy, you’ll find great options, from cute dinosaurs to more “roar”-style ones like T. rex.
A rolling pin to roll out the dough evenly. To get a uniform thickness, a rolling pin with measuring rings is helpful. Another great option is using dough guide sticks. But even if you don’t have either, you can still get excellent results with a classic rolling pin.
Parchment paper and a baking sheet—preferably a light-colored one, as dark or black baking sheets tend to cook cookies too quickly. My personal favorite setup is a perforated silicone mat paired with a perforated aluminum baking sheet.

Tips
These dinosaur sugar cookies are easy to make, but here are a few tips to help make this recipe a success.
- Ingredients should be at room temperature—except for the butter.
- Use a kitchen scale to weigh your ingredients for the best results.
- Don’t overmix the dough. Mixing too much can develop gluten, and your cookies may lose their shape.
- Don’t skip the chilling time. I know it’s tempting, but your dough needs time to relax after being mixed.
- Dough at the right temperature: You should be able to press the dough between your thumb and index finger and leave an imprint without much effort—without it melting or falling apart.
- Roll the dough between two pieces of parchment paper or on a silicone mat. This prevents adding too much flour. If rolling directly on the worktop, make sure to only lightly flour it.
- If the dough is too soft to handle, chill it in the fridge for 10–15 minutes.
- If the dough breaks accidentally, don’t worry—just reassemble and roll it out again.
- Dip the stamp in loose flour and gently tap off the excess. Re-flour the stamp after every cookie.
- Press the stamp into the dough to create the design, then use the cookie cutter after stamping to cut out the shape.
- Try to get the maximum number of cookies from each roll and avoid re-rolling the dough more than three times. Repeated rolling can make the cookies tough and affect their shape
- The raw cookies must be cold when you bake them. Don’t skip the second chilling—it helps them hold their shape. For best results, let the dough rest overnight in the fridge.
- Temper your chocolate, so once dipped, the cookies won’t melt at room temperature (unless it’s very hot).
- Afterward, to clean your stamp, use a toothbrush to remove any dough stuck in the small details.

FAQs
Dinosaur Cookies storage?
They can last up to 7-10 days in an airtight container.
Can I make these cookies in advance?
Yes! You can prepare the dough ahead of time, wrap it securely, and keep it in the fridge for up to 48 hours.
The dough can also be frozen for up to 2 months. Just remember to thaw it overnight in the refrigerator. Once thawed, let the dough sit at room temperature for 20–40 minutes (depending on how warm your kitchen is) until it’s soft enough to roll out.
You can also shape the cookies ahead of time, arrange them on a baking sheet lined with parchment paper, cover with plastic wrap, and refrigerate for 24 to 48 hours before baking.

If you tried these Dinosaur cookies or any recipe on the blog, I’m eager to hear all about your baking adventures and successes! Dive into the comments section below to share your experiences.