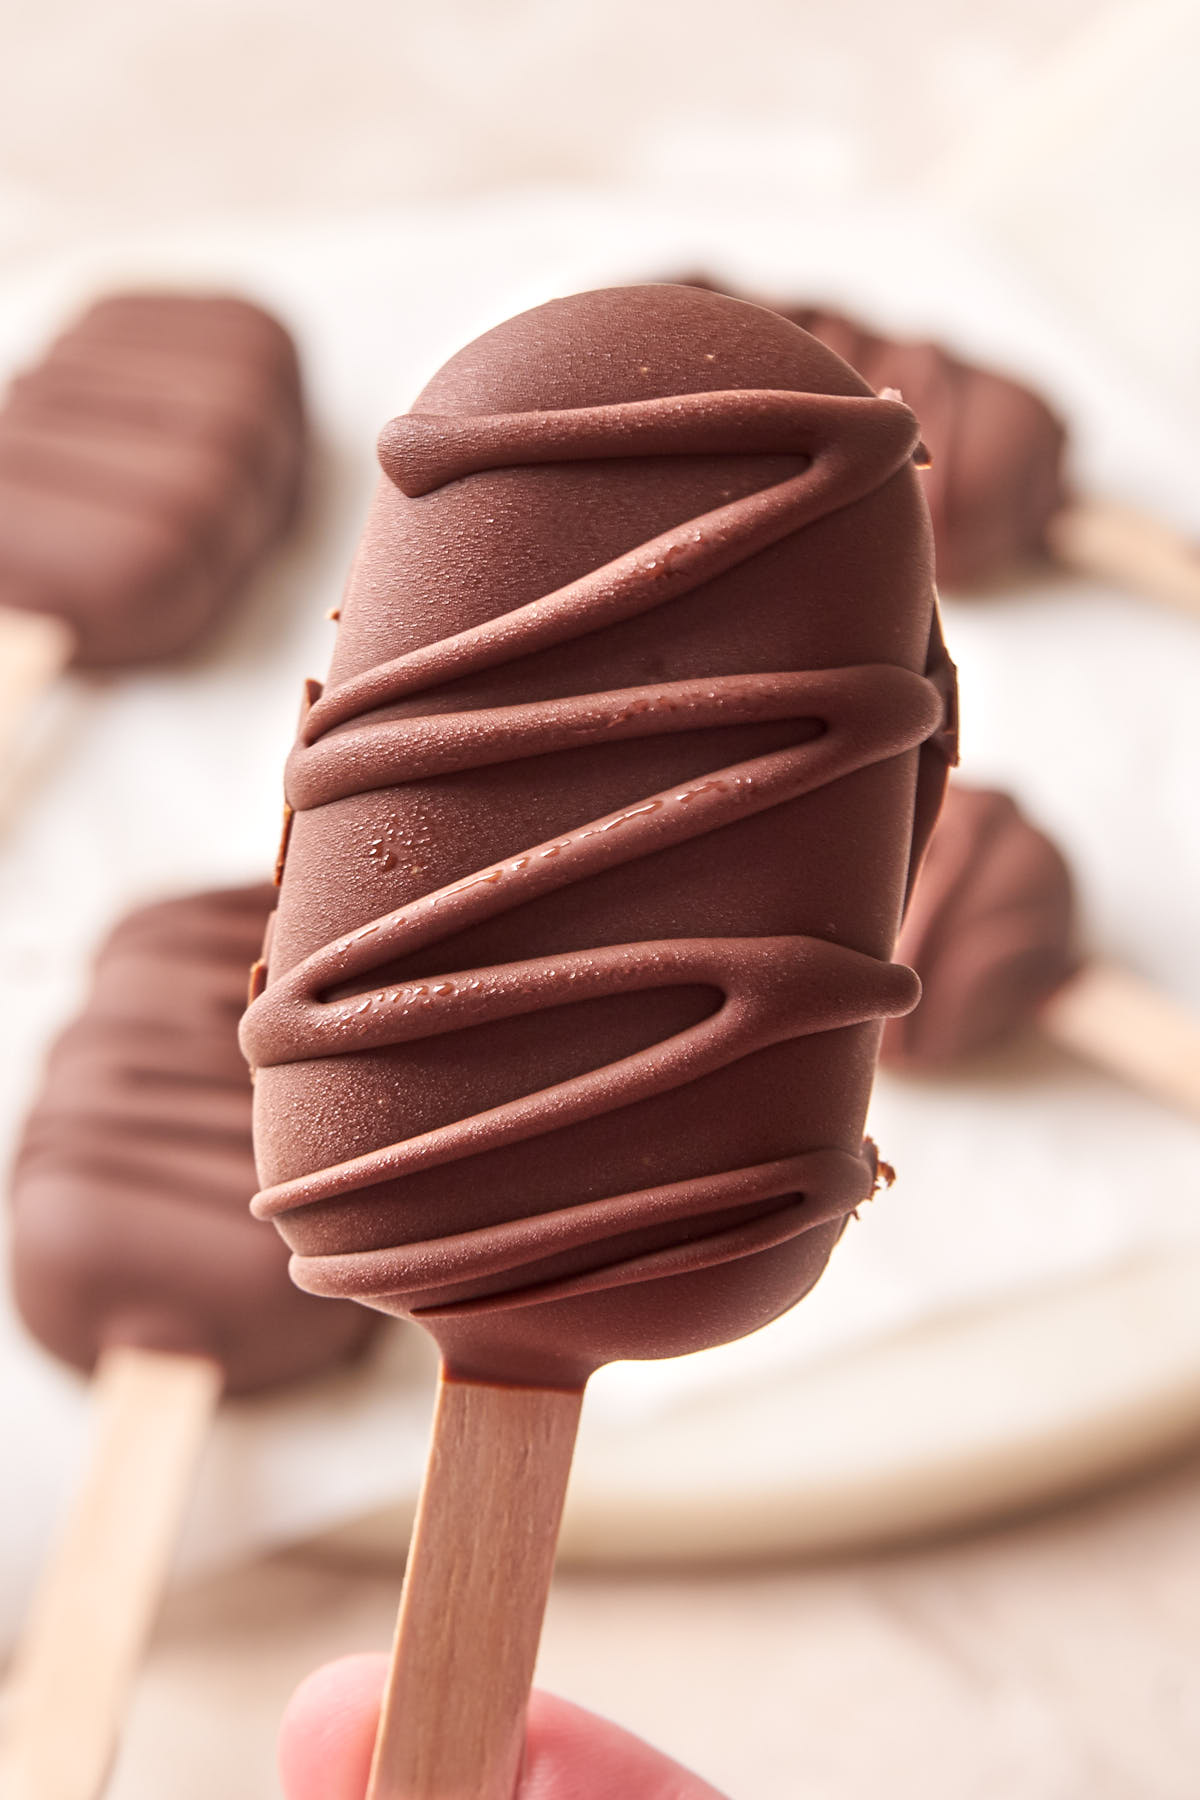
Craving a cool, frozen treat that melts in your mouth? These homemade Chocolate Ice Cream Bars are a chocolate lover’s dream on a stick!
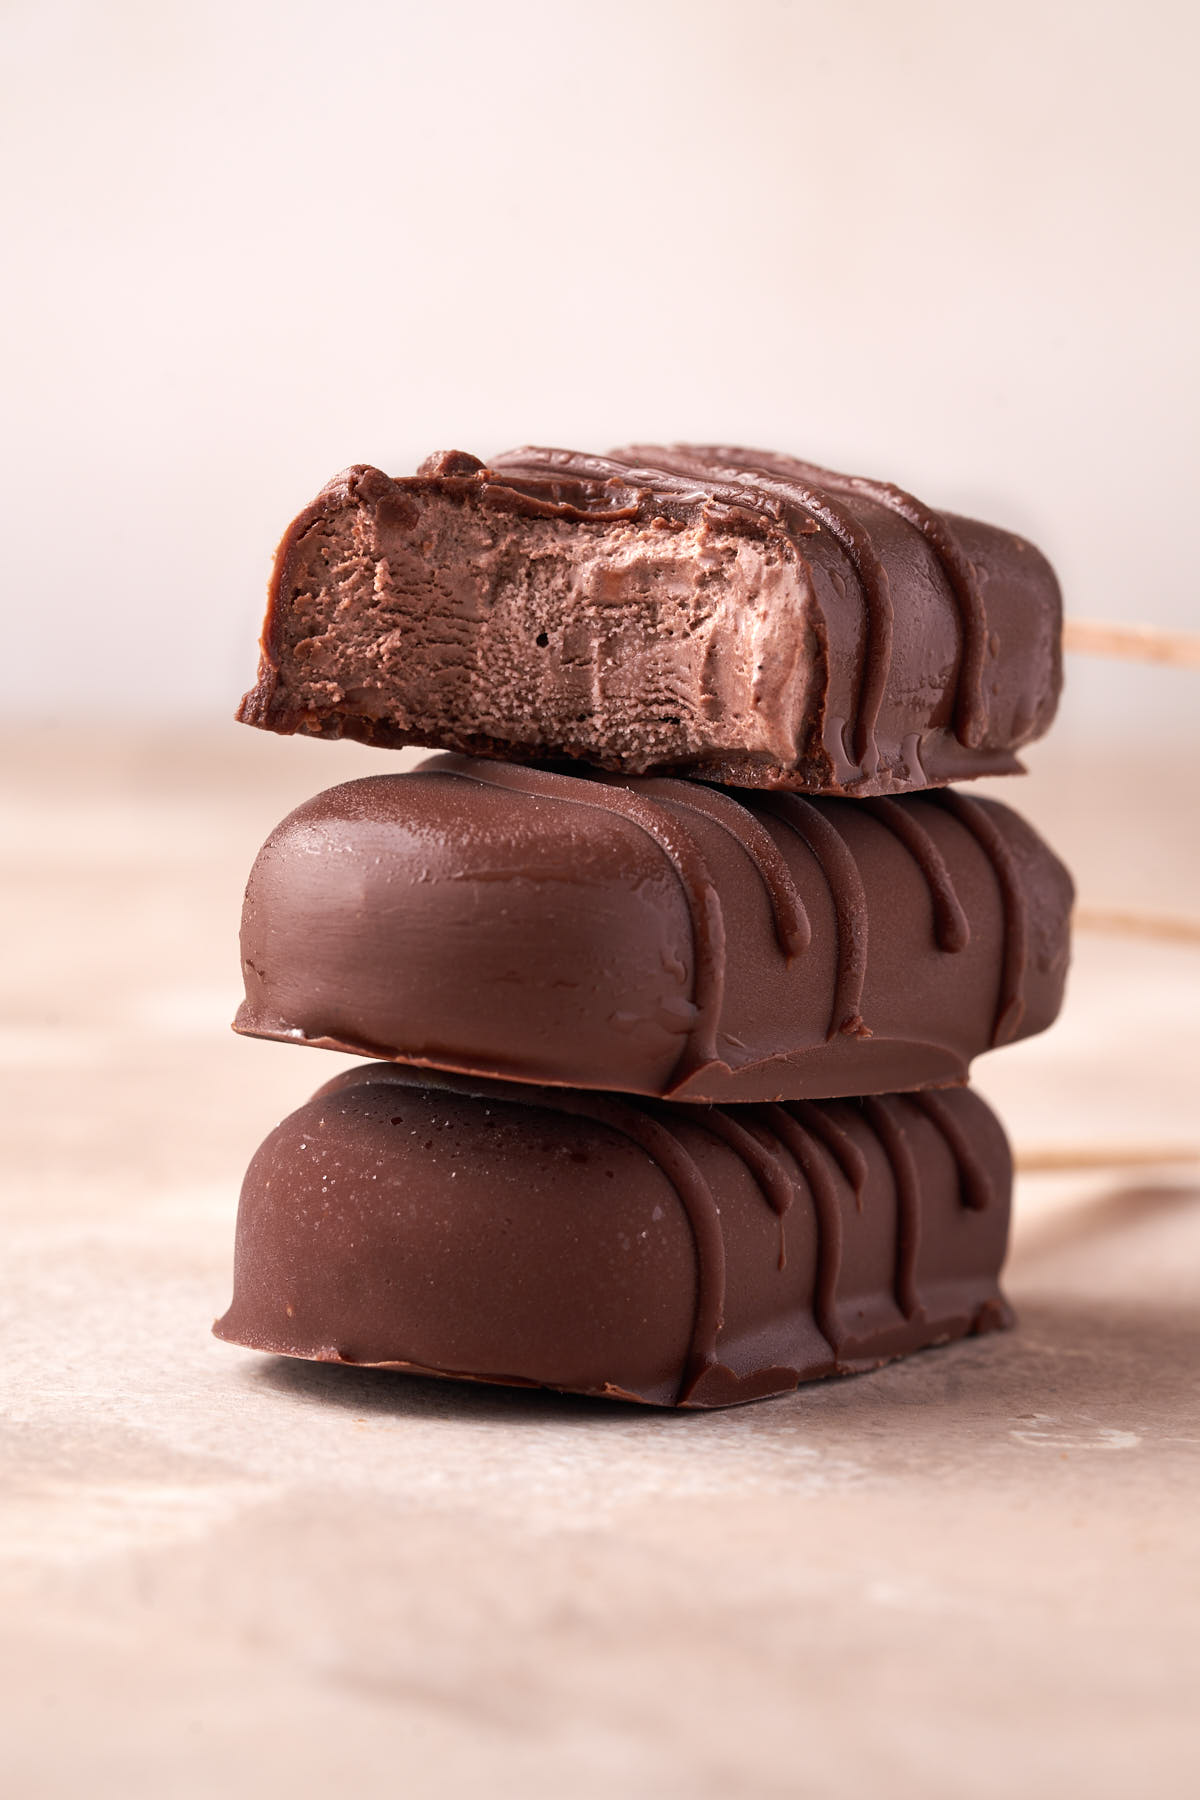
Unbelievably easy to make, no ice cream machine needed, this chocolate ice cream on a stick is perfect for hot days—or any day you need a little indulgence!
Ingredient Notes
- Heavy Cream – Use full-fat heavy cream for the best creamy texture. Avoid light versions, as the fat is essential for richness.
- Sweetened Condensed Milk – in a can
- Cocoa Powder – Make sure to use unsweetened cocoa powder, not hot cocoa mix, which contains added sugar and milk powder.
- Chocolate for Dipping – I use chocolate with 50% cocoa content, but you can use milk or white chocolate. You’ll have some extra chocolate, but it’s necessary to dip the ice cream bars properly. Pour any leftovers onto some baking parchment, let it set, and store it in an airtight container to use later.
- Vegetable oil – a neutral-flavored like canola oil is used for the chocolate coating. The oil helps make the chocolate smoother, easier to work with, and creates a thin but still crunchy shell.
Equipment
- Electric Hand Mixer – for whipping the cream
- Rubber Spatula – for folding the mixture
- Ice cream sticks
- Silicone Mold – any similar silicone mold will work. I use the Gel01m mini classic ice cream mold from Silikomart, and the stick are already included. The yield will vary depending on the size of your mold.
- Piping Bag (Optional) – Helpful for filling the molds
- Mixing Bowls – for preparing and combining ingredients.
- Tray lined with parchment paper
- Tall narrow glass– for dipping
How to Make Chocolate Ice Cream Bars
Here are step-by-step photos along with a quick summary of the process. For exact measurements and full instructions, check the recipe card at the end.
– Step 1: Whip the cream
– Step 2 : Mix cocoa and sweetened condensed milk and add it to the whipped cream
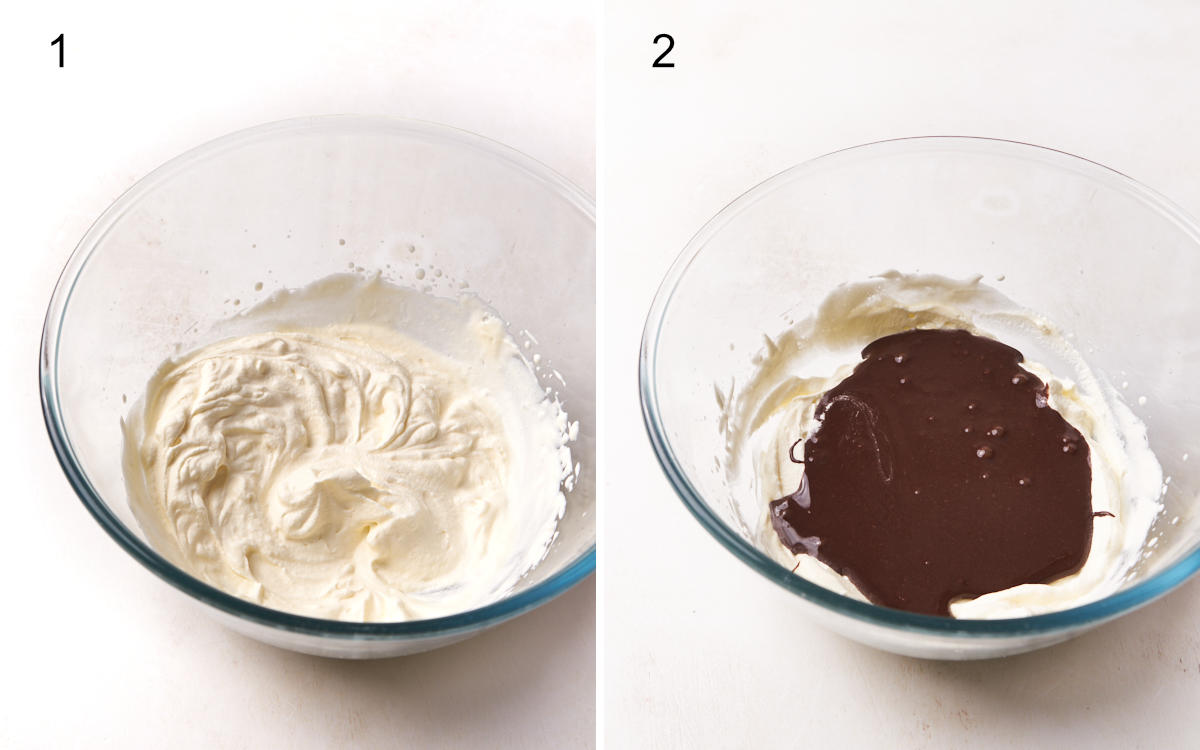
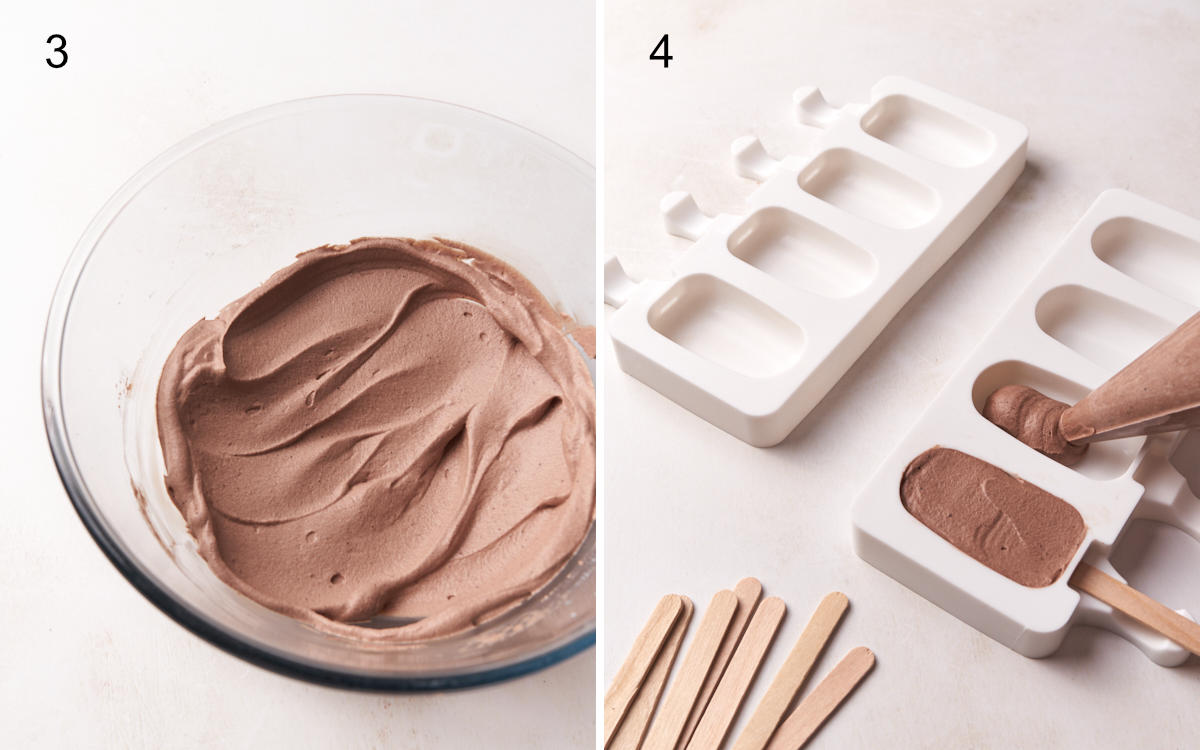
– Step 3: Gently fold the cocoa mixture into the whipped cream
– Step 4: Fill the molds and insert the sticks
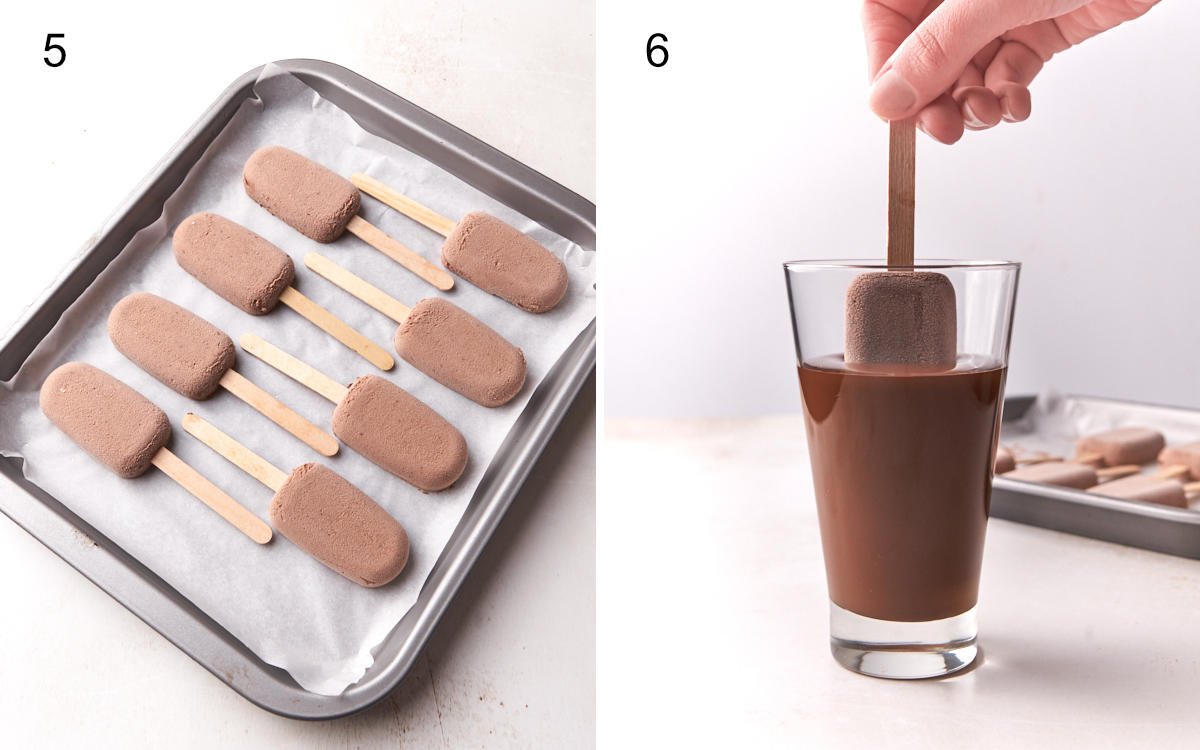
Step 5: Freeze
Step 6: Unmold and dip in melted chocolate
Tips for Perfect Chocolate Ice Cream On A Stick
- Don’t Overwhip the Cream – Stop whipping once the cream forms soft peaks. It should hold its shape but still be smooth and light.
- Pre-Chill a Tray – Place a tray in the freezer 15 minutes before unmolding. This helps keep the ice cream bars cold while you dip and decorate, preventing premature melting.
- Freeze Fully – Make sure they are completely frozen (at least 6 hours or overnight) before unmolding to keep their shape intact.
- For a good chocolate-covered ice cream, use a container like a narrow, tall glass to pour in the melted chocolate so you can fully dip the ice cream bars.
Fun Variations to Try
- Swirl It In – Add a swirl of peanut butter, chocolate sauce, or caramel into the mixture before freezing for extra flavor.
- Nutty Crunch – Mix chopped hazelnuts or almonds into the melted chocolate for a crunchy chocolate coated ice cream.
Storage
Once unmolded and dipped, return the ice cream bars to the freezer immediately. Once fully frozen again, store them in an airtight container or a ziplock bag, and enjoy within 3 months for the best taste and texture.
More frozen dessert recipes to try
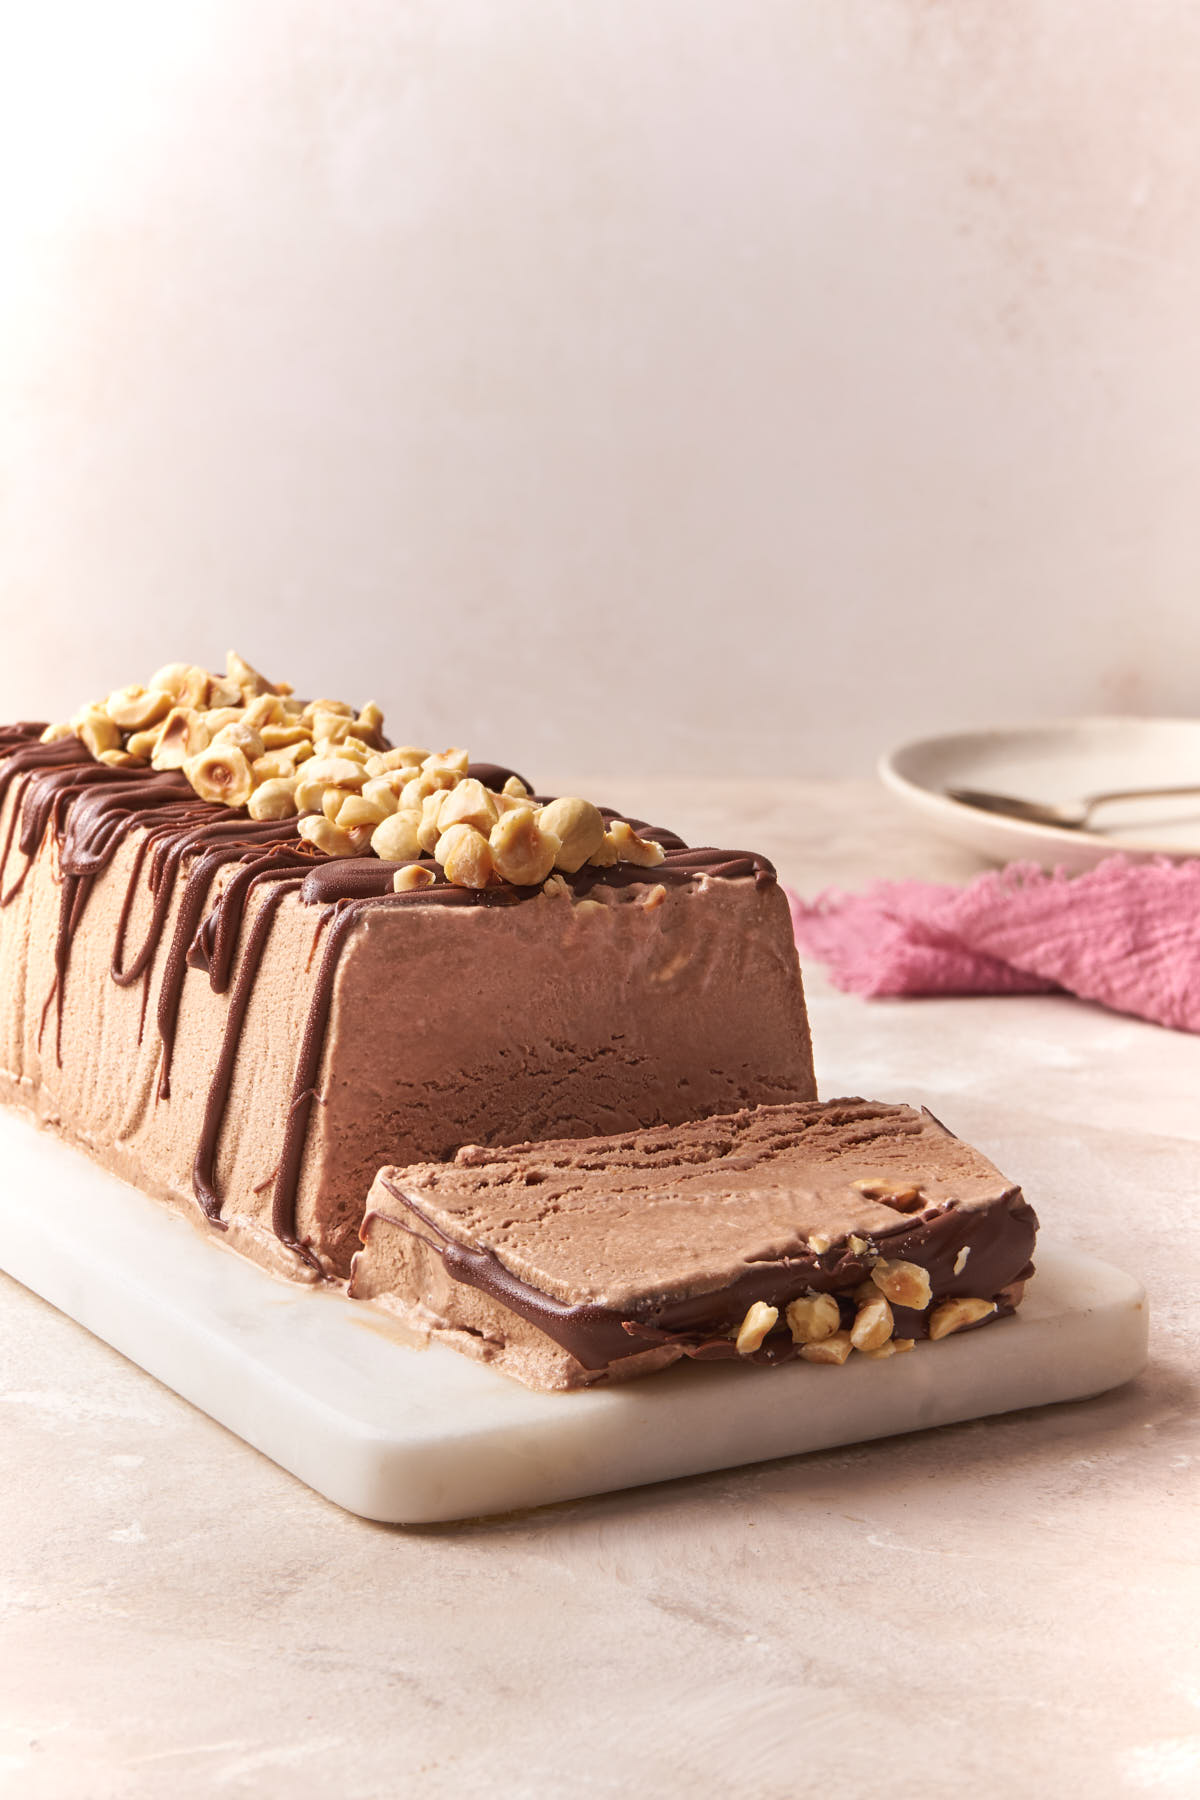
- Nutella Semifreddo: a make ahead frozen dessert perfect for dinner partie or family dessert
- No-Churn Black Forest Ice Cream: classic flavor into a homemade ice cream
If you tried these Chocolate Ice Cream Bars or any recipe on the blog, I’m eager to hear all about your baking adventures and successes! Dive into the comments section below to share your experiences.